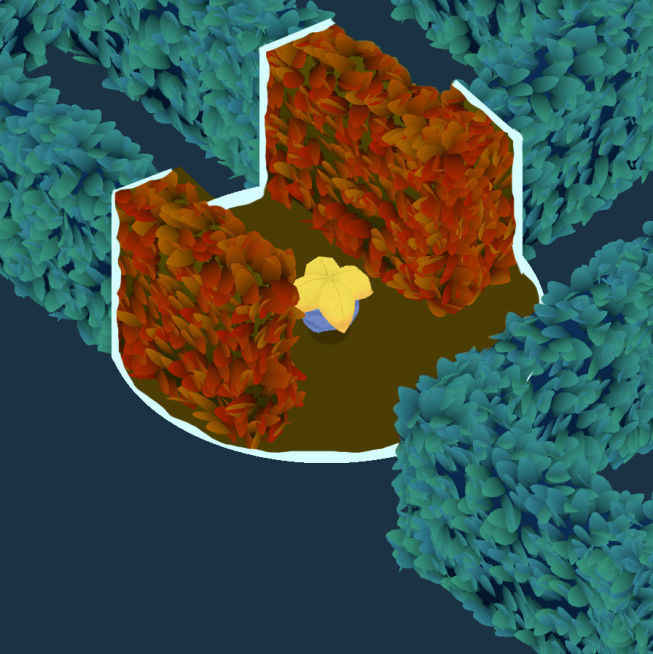
The most fun part of working on Hedge Maze was the localized "season bubble" effect that you get when carrying the seeds around the environment:
I had originally planned on making a lot of puzzle elements that required the player to carry the seeds to different spots around the level. For example: carrying the winter seed near water would freeze it, allowing the player to cross. I dabbled with it a bit, but adding those mechanics was going to blow up the scope of the game way past its intended purpose. In the end, the seeds ended up just being keys needed to unlock the end goal in a few levels.
Oh well, at least it looks pretty. Shall we get to the breakdown?
Planning
I started by taking a screenshot of the game and doing a quick paintover in Photoshop of what I imagined the final effect would look like.
I played around with softer outlines, but I really liked the clear white line that defined the edge. Again, the original intent was to use the bubbles to solve puzzles, so I wanted the player to know exactly where the bubble effect stopped and started.
Bubble interior
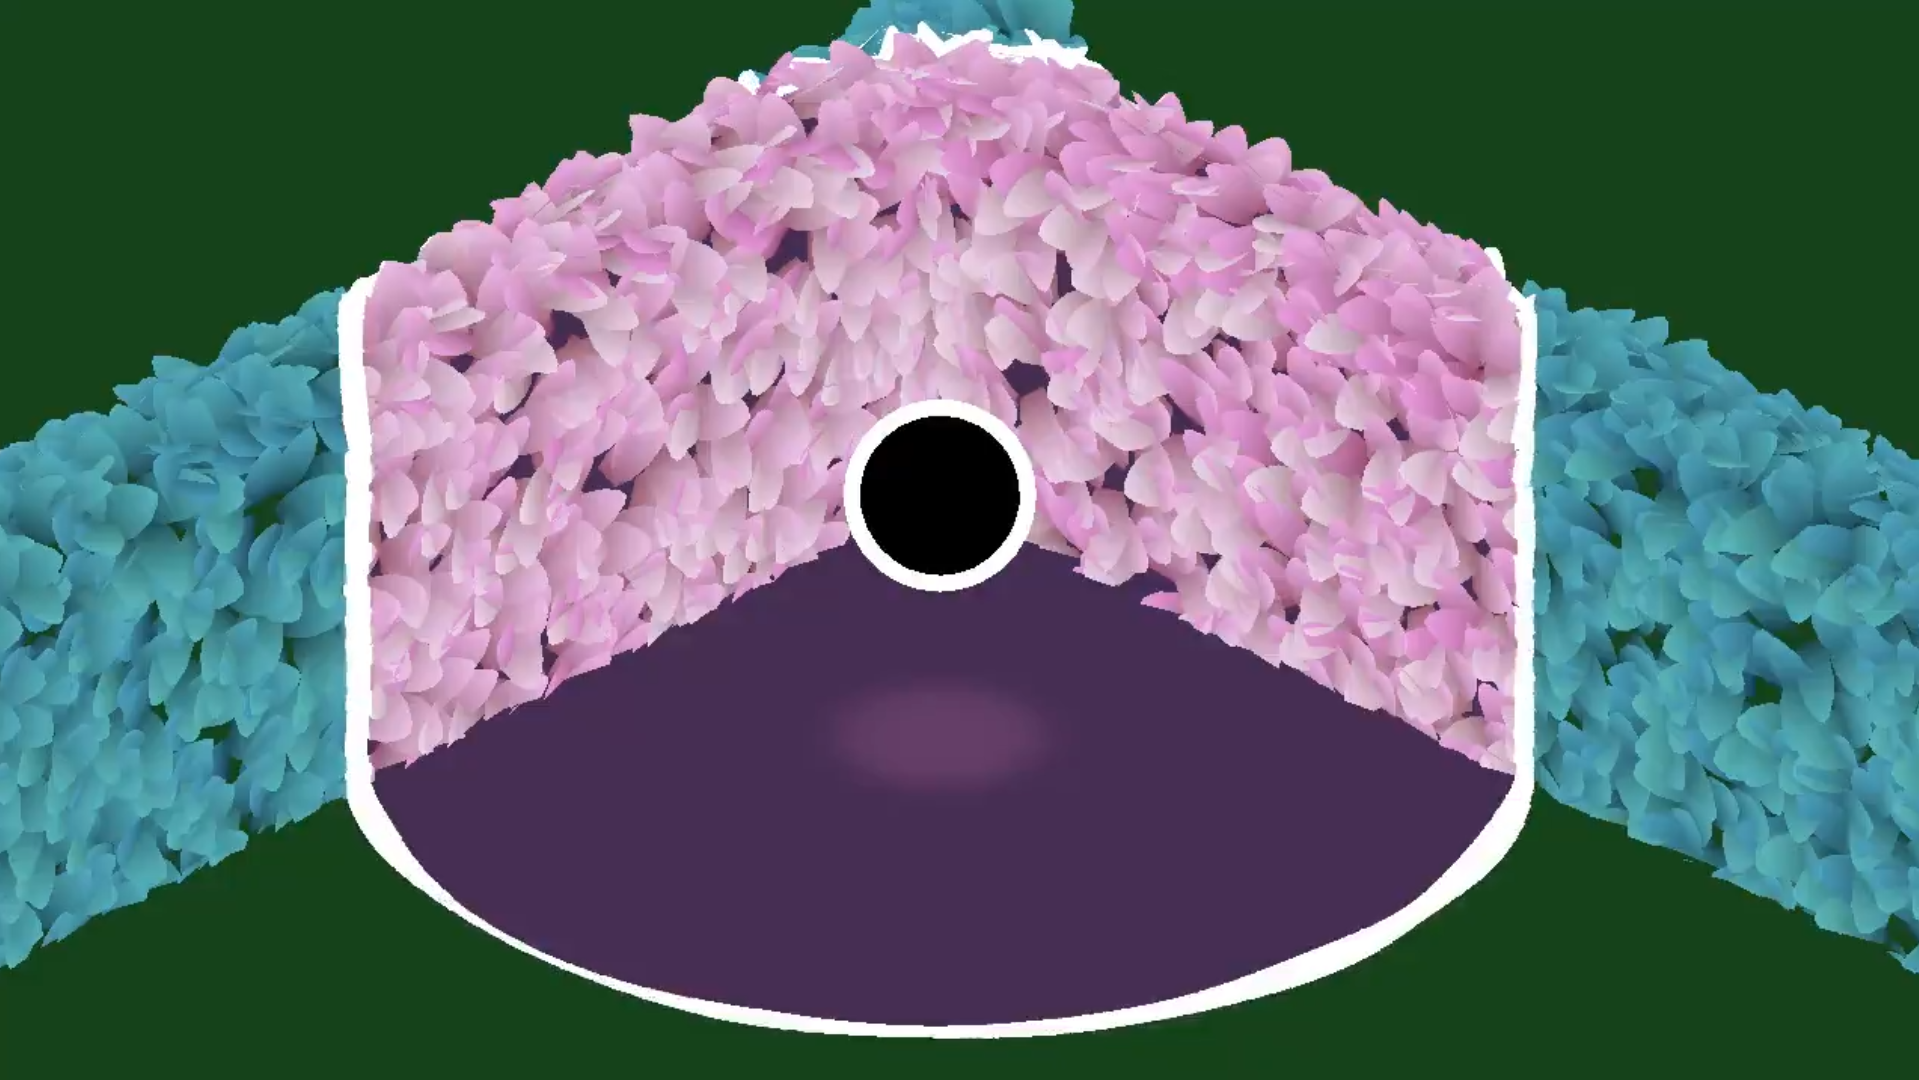
I started off with a shader that could pull information (like position, color, and radius) from different points in the world. The blue/pink circle and purple background here are one shader on a single plane.
The shader only has a few parameters: a single background color, and then an array of positions, radii, and colors. This way, we can have multiple season bubbles in the same scene. For example, here are three separate bubbles drawn on a cube:
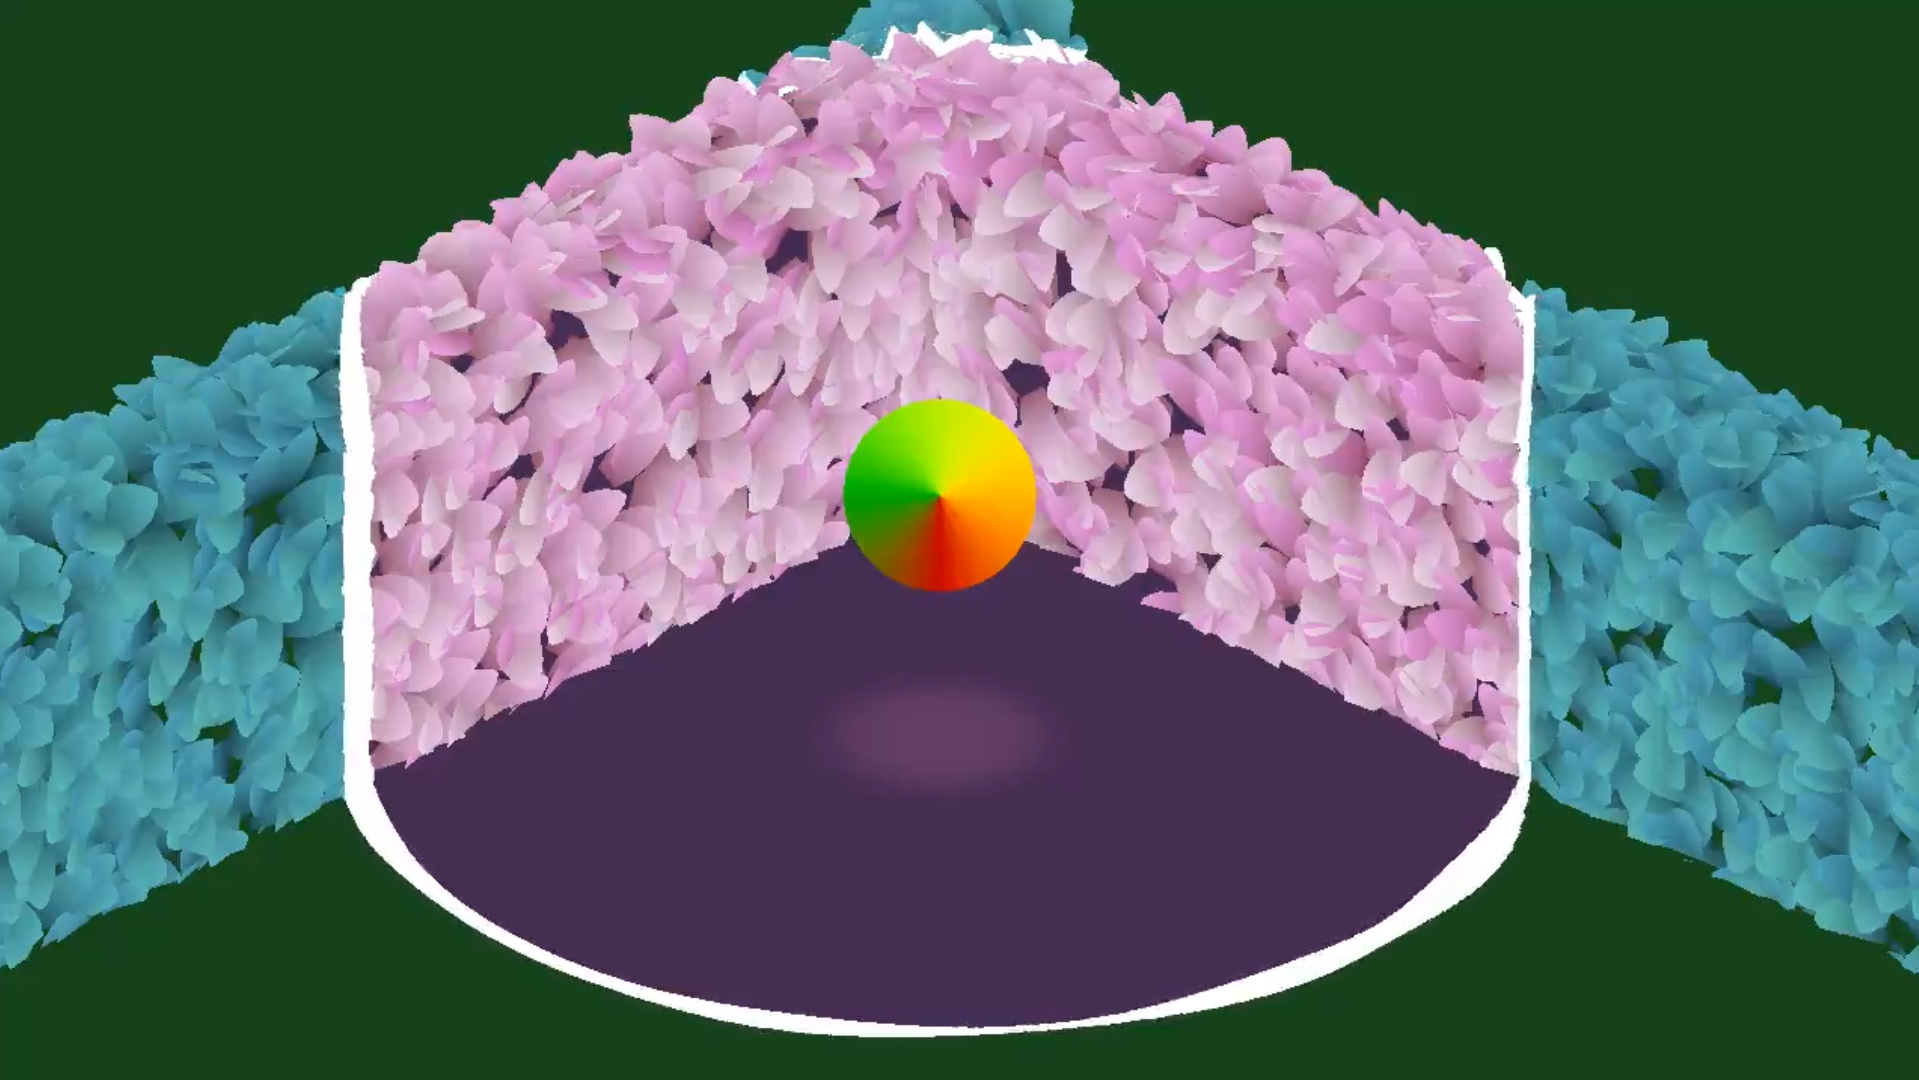
Seed edge
I want to go a little more in depth about the edge. In Hedge Maze, the little ball that projects the season bubble is called the "seed". For the breakdown of the edge, we're going to focus on the seed specifically, but the same technique is also used to draw the edge of the bubble:
It's a nice effect, and it's also really simple to achieve.
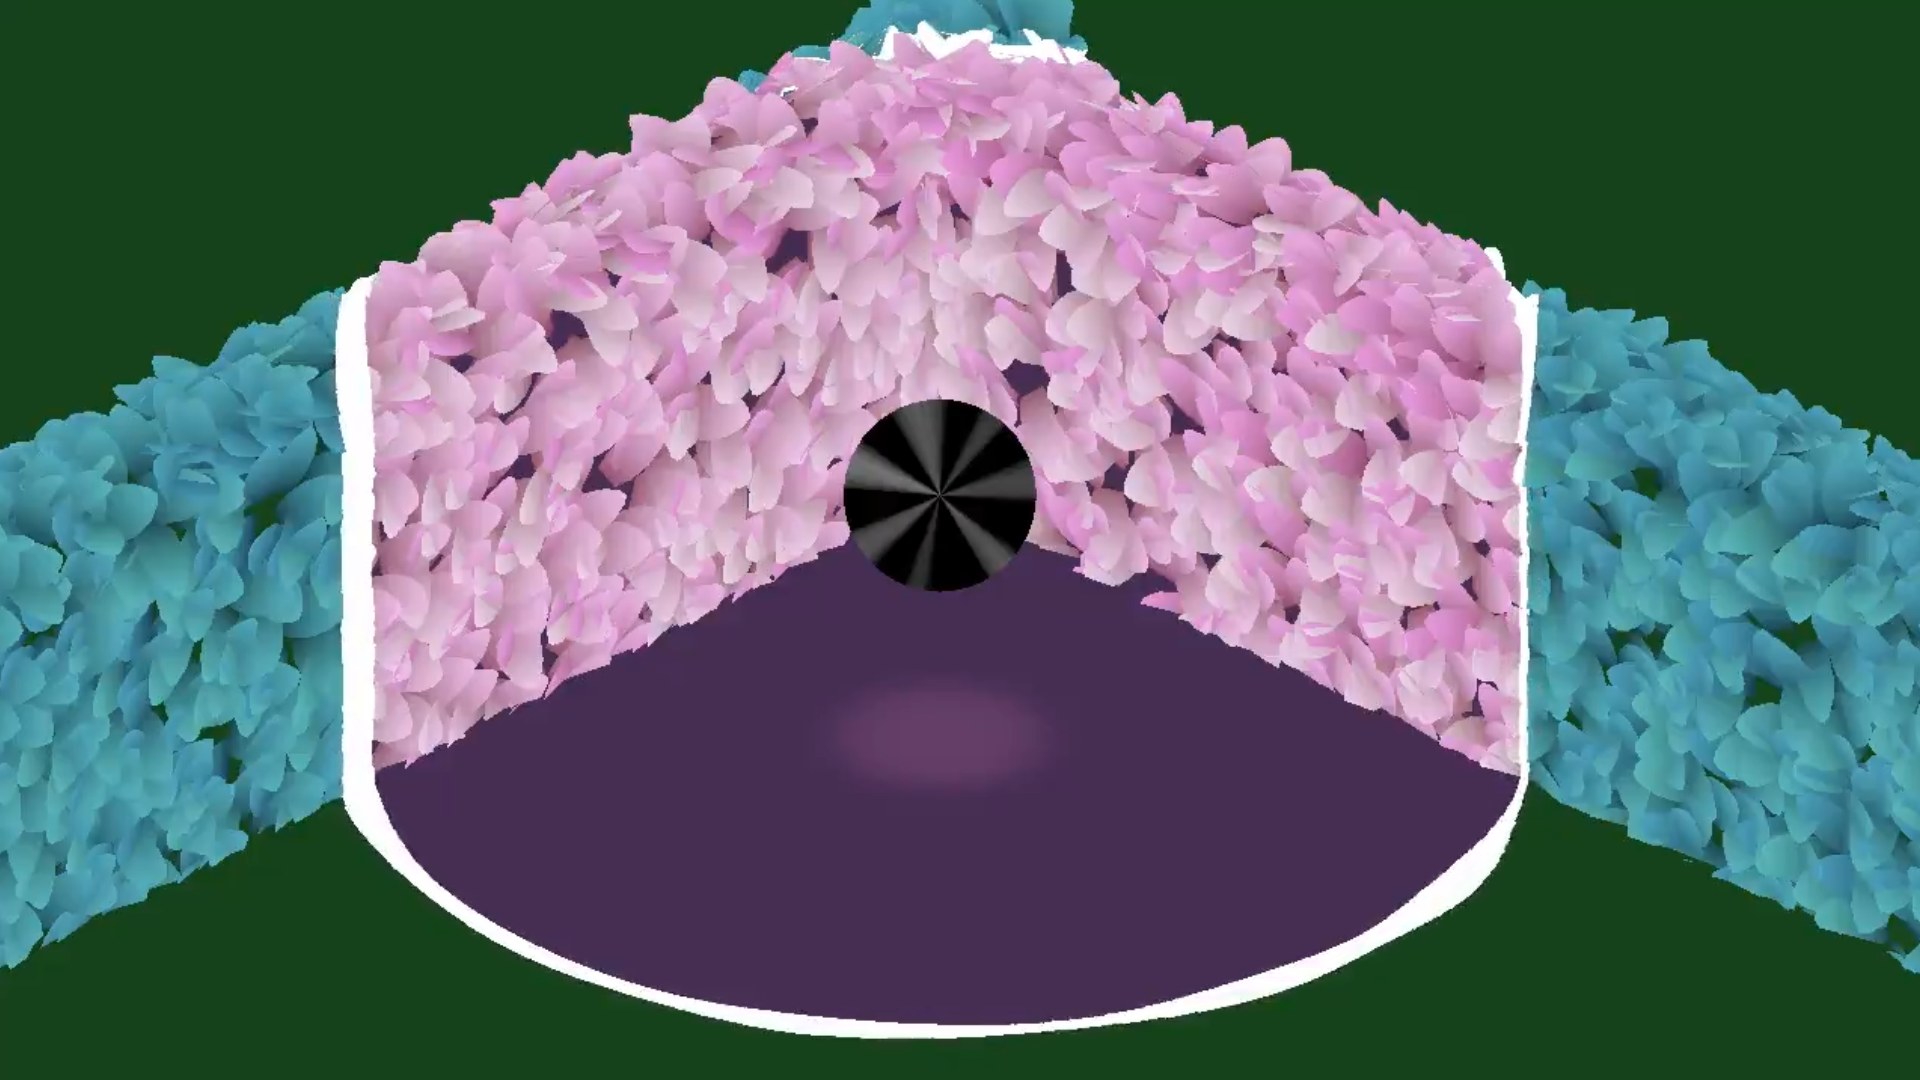
First, I started with a basic white outline:
Next, I used the polar coordinates to get the position along the circle.
We're left with a uniform value along any "slice" of the circle from the center to the edge:
After that, I fed the coordinates into a noise function so that each slice had a value from -1 to 1:
The values can be animated by modulating the noise over time:
Next, I used the values to push and pull the radius of the outline:
And finally, I swapped out the black and white for some color.